This would be a great piece of artwork for a kitchen or a restaurant. It's also a great gift idea. You can simply get it printed on a canvas when finished and hang it on your wall! I will show you step by step how to make this amazing Cup Cake Clock collage! Get your note pad ready!
Remember your just placing and erasing stock image where ever you want them to be! That is it!
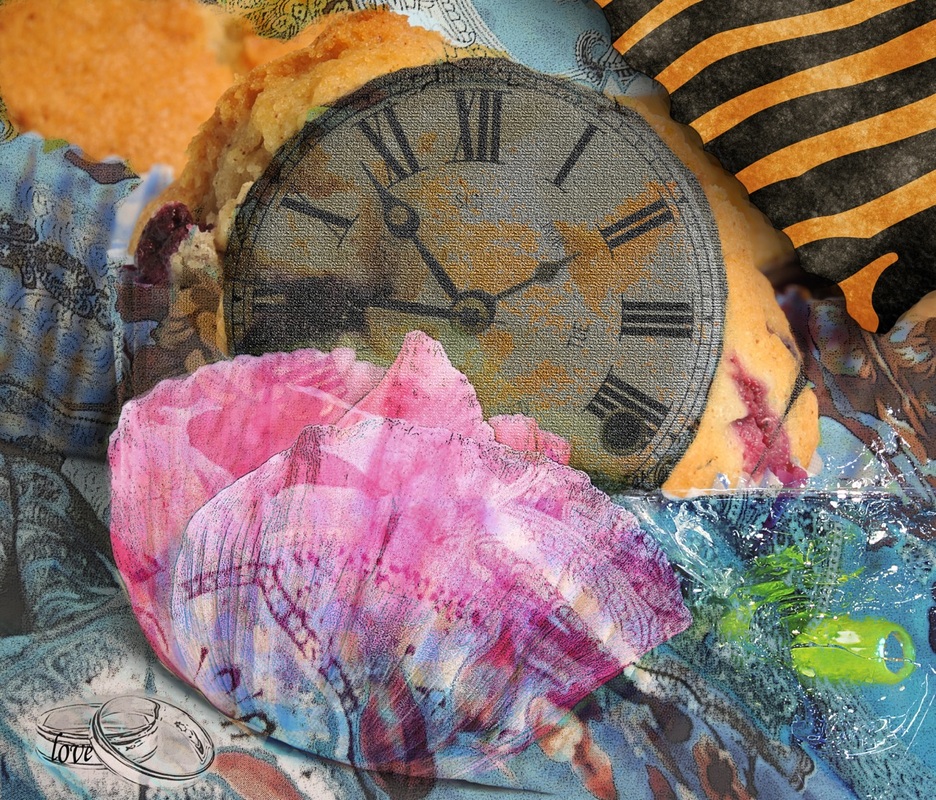
Cup Cake Clock Colalge
You can find most of these images in my link above. Click on more, and then go down to free stock images. You may need to find a new muffin or cupcake because this one was (courtesy of Photoshop Creative). ! Pause this as you go to take notes on the layer settings. I will also post them below.
Settings for each stock image.....
Cupcake/Muffins--- leave layer alone
Clock Image Layer- set layer mode to (darken), use bevel and emboss settings and play around make sure to add texture in this palette too.
Fabric- Set layer blend mode to (darken) with opacity lowered to 79%
Martini Glass- Set layer blend mode to (lighter) leave opacity to 100%
Zebra Fabric- Leave opacity to 100% Leave layer blend mode on normal and add some drop shadows, inner shadows and bevel and emboss with texture.
Blue water image. Place over entire bottom half of artwork. Set the layer blend mode to (color burn) set opacity to 42%
Rings Image for lower left of art. Turn opacity down to 77% change layer blend mode to (Luminosity).
Congrats you are done!
Remember to save your original file and then flatten and save as something else. Now you will have one layer to duplicate and change the blend mode to something more dramatic for more color and then maybe a little sharpening. You will need more color to make it pop like mine above. Try a cut out filter too if you want to see how it looks on top of it! Get creative!
